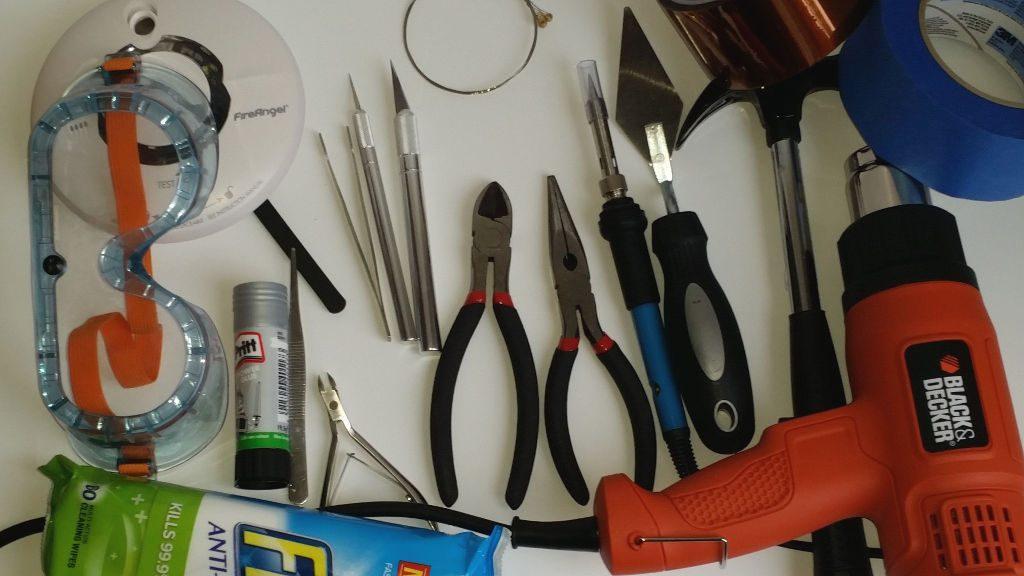
Many makers all over the world have started spending a good amount of their time at community Makerspaces and Hackerspaces, and as a result, they have had to develop portable tool kits that fit their needs. I move my Lulzbot AO-100 3D printer back and forth between my local Makerspace, theClubhouse, and my home almost every weekend. This kit has also been fine-tuned during the many outreach sessions I have participated in over the last year.
In doing this, I have quickly learned that I need to keep a dedicated portable 3D printing toolkit on hand when on the road to take care of all of those little issues that seem to pop up. Fortunately, Lulzbot has gotten me half of the way there with the toolkit they include with every printer. Their kit includes all of the tools necessary to keep their printer up and running, but there are a few extras that I have added that seem to make my life much easier when printing away from home.
I am going to go down the list of every tool I feel is a must have in any mobile 3D printing tool kit, and hopefully this information will make your mobile 3D printing endeavors more enjoyable. Everything in this list can be found on Amazon, and most of it can probably be sourced from a local hardware store.
A good pair of Needle Nose Pliers is the handiest tool a 3D printing enthusiast can have as they work well for removing jammed filament from the extruder. They also serve as something to help remove blobbed plastic from the hot-end of a nozzle. The sharp cutting portion of the pliers is also great at cutting filament if you need to change out colors or remove a jam. A good pair of Needle Nose Pliers should cost no more than $5.
I have burnt myself many times while reaching in to grab excess filament at the beginning of a print, or during the print when a small blob appears. A long pair of tweezers with straight or curved tips greatly reduces the risk of getting burnt to almost nothing. I prefer the six inch or eight inch versions with a slightly curved tip. One should note that it is important for the tweezers to have a little grip on the tips as well to help grab the filament.
Over time, your hot end will turn black with burnt plastic that managed to stray away and get stuck to the sides. Having a clean nozzle and hot-end is key to keeping your printer running efficiently, and cleaning the nozzle is best done when hot. The best tool I have found to do this is a simple green "Brillow" scrubbing pad. I buy them in packs of five from the Dollar Store for about $2. The great thing about them is that the green scrubbing pad is abrasive enough to remove all of the burnt plastic from the nozzle without damaging it. I also use it to wipe away excess plastic before a print.
Cutting filament is easy enough with needle nose pliers, but they sometimes crush the filament just enough to prevent it from fitting in the nozzle's PTFE tube. As such, I find it better to cut filament with a cheap pair of flush cutters that can be purchased from Harbor Freight for $2. As an added bonus, flush cutters work great for removing blobs and support structure from your objects after the printing process is finished. I actually keep a pair of these in my backpack at all times too as they come in handy for cutting almost anything such as paracord, wire, and solder.
Most 3D printers are built using socket head screws that require Allan wrenches to manipulate. I keep a full set of Allan wrenches in my portable kit as I find that I need them at least once a weekend when something goes wrong. Previously, I would keep just the 3 needed for my printers, but they kept getting lost. Keeping them in a set with a holder forces me to check to see if they are all there when packing up at the end of the day. This is one area I would not go with the cheapest set you can find. Harbor Freight has a nice folding set for $5 and an even nicer ball-end set for $7.
This is a no brainer. Common Phillips and Straight screwdrivers should be in every toolkit, and they come in handy when needing to remove electronics cases, wire terminals, and more. I keep two sizes of each in my portable toolkit. If you are looking to save space, you can find several different models that feature an array of different bits that store inside the handle of the screwdriver for just a few dollars.
From time to time, every 3D printing enthusiast has experienced the extruder's feed wheel chewing into the filament. This results in the wheels teeth getting clogged with plastic shavings that prevent the wheel from biting the filament. A small wire bristle acid brush is the perfect tool for this job. Trust me when I say that once you have one, you will never live without one again. I have only found these on eBay, but if you know of a better, more stable source, please let me know.

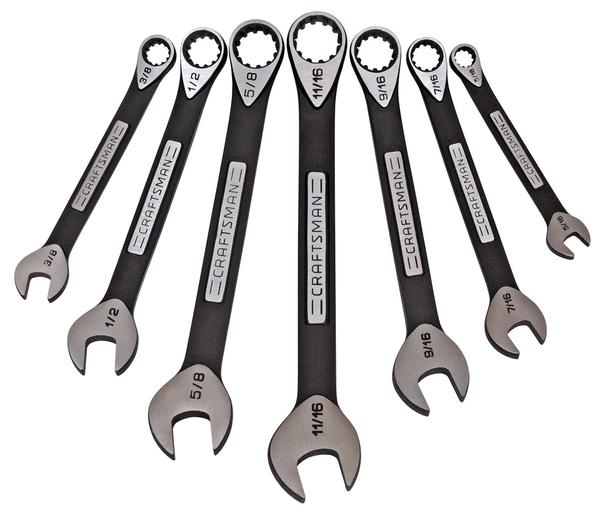
Many 3D printers employ what is referred to as a "Wades" type extruder. This extruder features a large cog wheel that amplifies the torque output from the stepper motor. This large gear is mounted to the hobbed bolt that feeds the filament. Removing this wheel almost always requires removing a 3/8-inch nut from the bolt. This is where a small crescent wrench becomes useful. A pair of these wrenches is also needed to aid in removing the nozzle from most hot-ends. I bought my pair from Harbor Freight for about $4 each.
ABS Glue is one of the absolute requirements when printing with ABS, and keeping a small Nalgene bottle filled with it in your kit is a given. Luzbot ships the small bottle seen above with their new TAZ 3 and TAZ 4 3D printers, but a small 8-oz Nalgene bottle can be had from Amazon for about $6. It is worth noting that I do not keep this bottle inside my bag for safety reasons, but I do keep it with my kit. To learn how to make your own ABS Glue, check out my tutorial here.
I am not the only one who is a major fan of single edge razorblades. In Adam Savage's talk about toolkits for the Maker on Tested.com, he says that single edge razorblades are the most useful tool in any toolkit. I have to agree with him whole heartedly, and I must confess that I buy these sharp little slivers of metal by the hundred. They are super useful when removing prints from the print bed, help clean the bed when replacing PET tape, and work well for just about everything else you can think of. It is important to understand that I am not talking about box cutter blades as they are way too thick.
I previously kept a pair of digital calipers in my portable kit, but I found that I used them less than I actually thought I did. As a result, I began keeping a simple metric machinist scale in the bag as a means of accurate measurement. This works out great as I rarely find myself printing anything to such high precision as to need digital calipers on the weekends at my Makerspace. When the need does arise, I simply borrow the calipers that are in the makerspace's tool room.
The hobby knife (aka Xacto Knife) is another staple in every maker's toolkit, and is cheap enough to buy a dedicated one for your portable 3D printer tool kit. Hobby knives are useful for removing support material, cleaning up prints, and even slightly widening shallow screw holes. I do particularly like the Xacto brand, but buy the Hobby Lobby brand blades in 30 packs to save money.
Like the single edge razorblade, zip ties are some of the most useful things on the planet. I keep ten of the 4-inch and five of the 6-inch sizes in my portable kit at all times. They come in handy more often than you think, and I buy the cheapest ones I can find from Harbor Freight.
ABS glue or straight Acetone works well for bonding ABS printed parts together, and can even quickly repair broken printer parts if they were printed from ABS, but if you print in PLA, PVA, Layowood, or Nylon, ABS glue will not bond those materials together. For this reason, I keep a hobbyist grade bottle of CA Glue in my portable kit. I have only had to use it once so far, but it really did save the day when it mattered.
Nothing ruins your weekend like a faulty USB cable, and it makes sense to have a spare in your kit since they are so cheap. I actually keep a spare 6-foot cable in my kit that I purchased from Newegg for $3. Alternatively, you could spend the $6 on a Cerebus all-in-one cable from Sparkfun.
While I hardly ever print from an SD card, the ability to do so is important to me. For this reason, I keep a spare 8GB SD card in my portable 3D printing kit. Any brand and class will work, but I prefer SanDisk as I find that they stand up to the abuse of being tossed around with tools well.
I often find myself printing parts for friends who are building a robot, 3D printer, or something else with custom parts they designed. Many of them do not upload to Thingiverse until the project is finished, so having a solution on hand for transferring files is key. I visit many trade shows, so I have an abundance of 2GB and 4GB thumb drives, but you could pick one up from Newegg or Amazon for a few bucks.
I like to keep all of this inside one of the small bags that came with my Lulzbot printer, but many of you reading this will not have one. I highly recommend one of the cheap $10 plastic tool boxes from Harbor Freight, Walmart, or Lowes. They will take up a little more room, but you could fit your entire portable maker toolkit in it as well. If you have more room than I, I would suggest adding in things like electrical tape, a 3-4 slot power strip, and a stack of napkins for application of ABS glue to the printing surface. A flashlight is handy too, and if you like streaming or recording your prints like I do, you could keep a dedicated webcam in this kit as well.
In closing, I would like to thank Lulzbot for donating most of the tools and the super cool tool bag seen in this installment of 3D Printing Tips and Tricks. Without their support, these articles would be much harder to create. In the next installment of 3D Printing Tips and Tricks, I am going to talk about Retraction and how to properly configure Slic3r to get a good layer start without oozing or blobbing, so stay tuned to TweakTown for that and much more!